
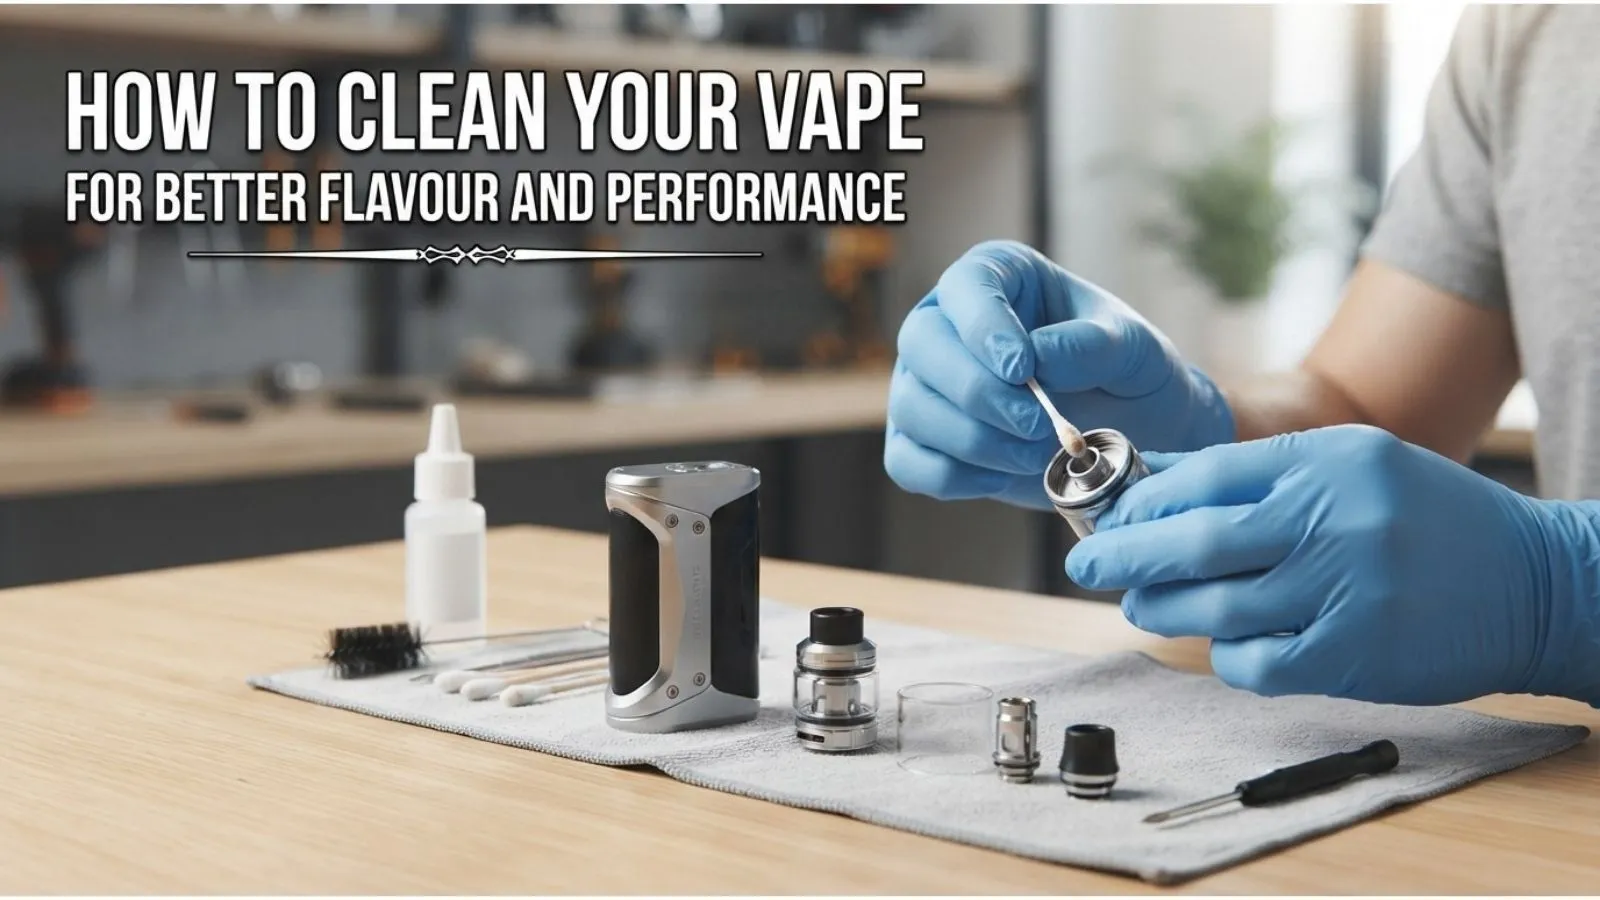
Regular cleaning helps:
- Keep flavors tasting fresh
- Ensure comfortable airflow
- Remove any e liquid residue or condensation
- Maintain a clean mouthpiece
- Avoid build up around the pod or tank
- Make your device perform consistently
- Extend the lifespan of reusable components
How Often Should You Clean
For cleaning your vape, think about how often you use it. If you are a daily basis user, just giving the mouthpiece and exterior a quick wipe every few days can keep things nice and fresh. For deeper cleans, do it when you notice muted flavours or if there is visible gunk building up.
If you switch flavours often, cleaning between uses will help prevent unwanted mix ups in taste.
What You Will Need for Cleaning
No need for special products here. You can get by with some simple stuff.
- A dry microfibre cloth
- Cotton buds
- Warm water
- Paper towels
- A small bowl for removable parts
Always check what the manufacturer says about cleaning your specific vape first since some parts cannot handle water.
Step 1.Turn Off Your Device
First thing first. Switch off your vape before you start messing around with it. Unplug it from any charger if that is part of its setup.
Do not attempt to clean anything while it is still hooked up to power.
step 2.Take Out the Pod or Tank
Next up, gently remove that pod or tank from the device itself, being careful about any leftover e liquid spills.
If you are using a reusable tank, always empty out any liquid first. Remember not to mess around with disposable pods as they are one time use only.
Step 3. Clean That Mouthpiece
Mouthpieces are notorious for gathering dust and condensation over time.
If yours is removable and marked as water safe by the manufacturer, give it a rinse under warm water, then let it dry fully when done. If it is non removable, just wipe what you can reach with that damp cloth or cotton bud instead.
You want to be sure it is completely dry before using again.
Step 4. Clean Out the Pod or Tank
For refillable tanks designed for cleaning, empty them out first then follow those instructions provided by whoever made your device.
You can usually rinse removable components with warm water but give them space to air dry afterward so they do not get too wet too quickly.
Just remember not to dunk any electronics into water, keep that away from batteries.
Step 5. Make Sure Device Connections Are Clean
Residue also loves hanging around where the pod attaches to your main device, so make an effort here too.
Grab that dry cotton bud or cloth and gently clean up any gunk without pushing anything deeper inside where it should not go like near charging ports, leave those alone.
Step 6. Let Everything Dry Properly
Allow products you have cleaned enough time to dry thoroughly since moisture around electrical parts can ruin everything pretty quickly.
Do not use your vaporizer again until everything is totally dry, it really matters.
Step 7.Put It All Back Together
When every bit has dried out completely reassemble according to what is recommended by the maker of easy peasy smoking equipment like yours.
Take a moment just checking there are no leaks once fitted correctly before trying again after filling, but retain patience at least ten minutes after refilling until those coils soak through properly.
How To Boost Flavour Quality Further
Staying on top of cleanliness is not solely enough if certain issues linger on affecting flavour outcomes among hits. There are more ways such inconsistencies can take over.
- Swap out burnt coils promptly
- Change disposable pods that are not working right anymore
- Avoid low levels in refillables
- Fully tidy mouthpieces regularly
- Store devices in cool places away from sunlight
- Clean connections thoughtfully all around
- Use synced liquid settings recommended always
In cases where bothersome burnt flavours persist after regular attention, look into coil replacements or pod upgrades specifically needed rather than relying on cleaning efforts alone.
Signs It Is Time To Clean Up Your Device
Your vape may need some TLC if you spot things like:
- Dull flavour: Old coils do not have much left inside, affecting overall enjoyment level.
- Airflow troubles: Something blocking the top area can restrict airflow.
- E liquid showing: Condensation around pods indicates that cleaning may be needed.
- Grime collecting: Visible build up definitely merits immediate attention.
- Performance issues: Dirty connections can cause inconsistent performance.
What Not To Do When Cleaning Your Vape
Exercise caution when cleaning your vape. Poor cleaning methods can cause damage, so avoid actions such as:
- Submerging electronic parts underwater
- Cleaning while connected to a charger or power source
Be mindful of safer cleaning practices and use the right tools for each part of your device. Following the manufacturer's guidance can help you maintain your vape safely and consistently.
